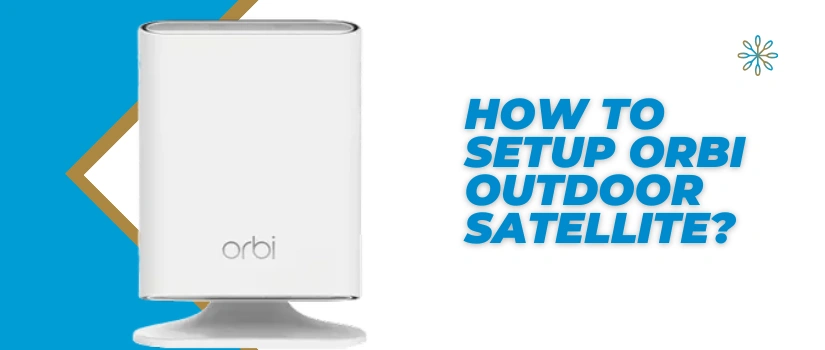
How To Setup Orbi Outdoor Satellite?
Do you lose wifi connectivity or the signals turn weak as soon as you move into your backyard, terrace, pool area or any outside area of your abode? If yes, then you must install an additional Orbi outdoor satellite. It will fill up the dead zone and will let you enjoy lightning fast and seamless internet connectivity in every nook of your place. Now you might have a question: How to Setup Orbi Outdoor Satellite? This is exactly what this post will answer. We’ll be listing the complete step by step guidance and we assure by the end of this post there won’t be any connectivity issue left in your outdoor space. So without stalling further, let’s unlock the Orbi satellite.
Step 1: Prep The Satellite And Router
Firstly you have to prepare the devices for synchronisation. So ensure your Orbi router is active, has its connection with the active internet source and is working well. Now bring the Orbi outdoor satellite closer to the router. This is crucial for initial setup. But once the satellite is synced you can move it to an outdoor area.
Now after placing the outdoor satellite closer to the modem, power it on with the help of the supplied power adapter. The ring LED will start flickering white initially so it means it is booting itself up. So you have to wait for the light to turn stable white. As this stability means the satellite is all set for the sync.
Step 2: Sync Orbi Devices
Now this step will connect your Orbi satellite to the main unit which is the router. So first up locate the sync button on the Orbi outdoor satellite. It is there at the back side. As you locate it, press it down. Now without taking a single second move towards the router. On it locate the sync button and click it as well. Now the smart lights will start blinking and will turn stable once the sync is successful. This can take up a little time, so you have to be patient here.
Once the sync is done, you can see three different lights which indicate three different meanings. If the light is solid blue, it means you have successfully done the pairing and the connection is best. Next up, if your Orbi outdoor satellite shows an amber light, then it means the sync is successful but the signals could be stronger. For turning this amber light into blue, consider moving the satellite closer to the router. Lastly, if the satellite is showcasing a magenta light, then it is not a good sign. It suggests failure of the syncing process and thus you have to redo the whole above written process from scratch.
Step 3: Move The Satellite Outdoors
The initial setup is done. Now you can place your satellite in its final outdoor location. Choose a strategic location where the signals from the router are at least 50 percent. Plot the satellite in between the router and the area where you need better Wi-Fi. The outdoor satellites from Orbi are weatherproof and thus can handle rain, snow, and sun easily.
Once the hunt for a placement spot completes, plug the satellite into an outdoor power source. Thereafter, check the bottom light LED again. A solid blue light is what your aim should be. As it confirms a good connection to your Orbi Router from the new location. If you see amber light you may need to find a spot a little closer to the router or another Orbi satellite.
And with that the answer to the question: How To Setup Orbi Outdoor Satellite completes. For other queries and tech assistance, feel free to connect with our customer support team.

